Small Glow, Big Character: Stained Glass Lampshades for Rooms Daylight Forgets
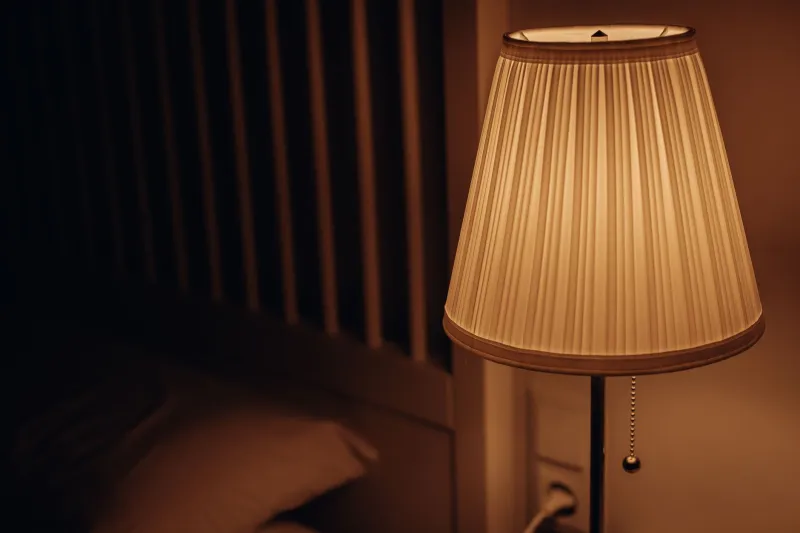
Every UK home seems to have one: the hallway that never quite brightens, the alcove beside the chimney breast, the north-facing back room that spends most of the year in soft grey. A full window commission is often the wrong tool for these spots — too much cost, too much structural fuss, and sometimes simply the wrong wall. A stained glass lampshade or a small illuminated panel is the quieter answer. It takes the same glass, the same leading lines and the same colour play, then scales it down to something you can hang, plug in and enjoy after dark.
Why small glass works harder
A window is judged against daylight. A lampshade is judged against darkness, and that changes everything. When a bulb sits behind coloured glass, the tones intensify, the texture of the glass becomes visible and the shade throws patterns across a ceiling or wall. In a dim hallway, a 30cm shade can do more atmospheric work than a much larger window in a bright room. That is worth remembering when you are weighing up where to spend a commission budget.
The practical catch is that small scale exposes lazy design. Fine detail that reads beautifully across a metre of window can turn to mush at lampshade size. This is where a maker's experience matters, and where a first-time project can come unstuck.
Pattern scale: design for the distance it will be seen
Most lampshades are viewed from between half a metre and two metres away. At that range, bold geometry, simple motifs and clear repeats work best. Think stylised leaves, abstract coastal bands, repeating chevrons, a single bird or a run of small squares — not a detailed landscape with tiny figures.
A few rules of thumb from the bench:
- Keep lead lines purposeful. Every line should either hold the design together or hold the glass together. Decorative lines that do neither add weight and clutter.
- Choose glass for backlighting. Opalescent and streaky glasses diffuse a bulb beautifully; cathedral glass gives strong colour but can look harsh if the bulb is visible through it. A mix of both often works best.
- Test the palette under warm light. Colours that look rich in daylight can turn muddy with a 2700K bulb. Ask to see samples lit before committing.
- Mind the top and bottom. The eye reads the lower edge of a shade most often. A clean border or a repeated motif there stops the design feeling unfinished.
Copper foil or lead came for a curved shade?
For most lampshades, copper foil is the practical choice. Foil-wrapped glass pieces soldered edge to edge produce a finer, lighter seam than lead came, which matters when the panel is curved and the total weight needs to stay low. Foil also handles tighter curves and smaller pieces without the bulk of a lead profile.
Lead came still has a place: flat or gently angled panels, geometric shades with long straight runs, and designs where a heavier, more traditional line is part of the look. It is rigid and forgiving on large flat sections, but it is bulky on a small curved shade and adds weight to the frame.
A reasonable split for a first shade is copper foil throughout, with lead came reserved for a flat illuminated panel or a rectangular box shade. If you are briefing a maker, say which look you want — fine jewellery-like seams or a chunkier traditional line — because that choice drives the construction method, the price and the frame design.
Heat, bulbs and ventilation
The glass will happily take warmth; the problem is trapped heat. A shade with no airflow turns into a small oven, which shortens bulb life, dries out putty and can stress soldered joints over time.
- Use LED bulbs. A low-wattage LED golf ball or candle bulb produces a fraction of the heat of halogen or traditional incandescent lamps. Warm white, dimmable and around 4–7W is a sensible starting point for most shades.
- Leave a gap. Design in ventilation at the top and bottom. A shade that sits tight against the ceiling rose or closes completely at the bottom will run hotter.
- Keep clearance. Allow a sensible gap between the bulb and the nearest glass — 5cm or more is a reasonable guide, more for enclosed shapes.
- Check the fitting. Plastic bulb holders and cheap cable are not designed for heat. Use a metal lamp holder, heat-resistant cable and a proper strain relief.
- Get the wiring checked. Mains wiring is not a weekend craft job. Have the finished lamp inspected by a qualified electrician, and use a registered installer if you are adding a new circuit.
Frame strength and hanging
A stained glass shade is heavier than a fabric one of the same size, and the weight is concentrated in the glass and solder. The frame — usually a brass or copper armature — carries that load. Look for soldered joints that are fully flowed, not spotted, and a hanging arrangement that spreads the weight rather than hanging it from one small loop.
For pendant shades, a three-arm spider fitting is common and spreads the load well. For table lamps, the shade sits on a carrier ring; check that the ring is sized to the holder and that the shade cannot tip. If the shade is large or heavily built, ask the maker for the finished weight before you choose a ceiling fitting or hook.
Briefing a maker — or planning a first project
If you are commissioning, bring measurements and a photograph of the space. Useful details include the drop from ceiling to the bottom of the shade, the bulb type and wattage you intend to use, the fitting type, and whether the lamp will be dimmed. A simple sketch of the colours already in the room helps more than a long description.
If you are making your own in 2026, start smaller than you think. A flat illuminated panel for an alcove is a gentle introduction to cutting, foiling and soldering. A four-panel geometric shade is the next step. Kits and evening classes are widely available, and the skills transfer directly to window work later.
A last thought: the dark corner is not a problem to be fixed with more overhead light. It is an opportunity to put colour exactly where you want it. A small shade, well made and properly lit, can make a hallway feel like part of the house again.